
I guess I should first give some insight to what is going on here. I originally swapped a bone stock K24A1 into my hatch to get it moving, while I was very impressed with it I kept trying to kid myself that I wouldn't do a headswap. I was wrong, and less than a week after installing the K24A1 I bought a low mile 2002 RSX-S K20A2 head. This is somewhat of a How-To on doing a headswap with the motor still in the car, to my knowledge nobody has done one of these yet.
Please keep in mind I took very very few pictures as I do not like to get my camera messy and stop working to take pics.
Tools needed:
-Full socket set (Deep/Shallow 1/2" 3/8" 1/4")
-Ratchets (Duh)
-Crank pulley removal tool
-Torque wrenches (one for smaller settings, one for large)
-Full screwdriver set (prying stuff, hose clamps, etc)
-Several ratchet extensions
-Scrapers (Old gasket material)
-Hondabond HT (Honda genuine RTV, I highly recommend this stuff)
-Random pliers/cutters
-Wrenches 8-19mm (Ratcheting and normal, very helpful)
-Large 1/2" breaker bar (to hold crank pulley removal tool)
-Metric allen keys
Time required: ~10 hours
The tools really aren't the most important part, the most important thing is insane amounts of patience. It takes time to get to some of the bolts but it's not inherently hard because the motor is still in the car.
Okay, so..onto the actual process of removing the head while it's in the car.
Step1: Jack up vehicle on four jack stands. Disconnect the battery, Drain Coolant and Oil from engine, this is self explanatory. Remove the passenger front wheel.
Step2: Disconnect all of the sensors connected to the head and any of the harness that may get in the way, this includes - Crank sensor, Oil pressure sensor, VTEC sensor, VTC spool solenoid, Injectors, Coilpacks, Cam position sensors, etc. Disconnect the front coolant port from the head if you are able to do so, this makes life very easy.
Step3: Remove valvecover, intake manifold, header and passenger side engine mount. Support the engine using a jack and some wood on the oilpan, or in my case on the water pump housing as I did an RSX-S oil pump at the same time. At this time remove the crank pulley using the holding tool and a big honking ratchet. I use my 26" snap on 1/2" ratchet and a 18" 1/2" extension. I usually brace the pulley holding tool against the axle or front LCA with a breaker bar.
Step4: THIS IS THE HARD PART Removing the timing chain cover: you cannot pull out the bottom bolt of the passenger side mount that is connected to the chain case while it's still in the car, it is impossible unless you can somehow remove the Hasport frame rail mount. I tried doing that to no avail. What you must do is remove the cams/timing chain tensioner/rocker assembly first and then take EVERY 10mm bolt out of the chain case and then slide the entire assembly up and out of the car while the passenger side mount that is connected to the chain case comes with it. I will warn you, it is a ROYAL pain in the ass if you don't know what you're doing. It CAN be done.
Step5: Loosen the head bolts, take off the back chain guide arm and pull off the head, make sure EVERYTHING is off of the head before you pull it. Pull the head and inspect the cylinders to make sure EVERYTHING is clean. Clean off both the head/block mating surfaces.
Once you reach this point everything is the reverse of removal, Minus installing the chain case. Installing the chain case MUST be done from the bottom as you cannot install it with the cams/rocker assembly not installed. I had to remove the oil pan to do an RSX-S oil pump at the same time so this was no huge deal, it DOES require two people to line up perfectly and not hit anything. You must remove the oil pan to do it.
Once again, I am assuming everyone knows the proper procedure for checking the deck of the block and head for warpage. Mine were fine, I also assume you follow all torque specs and tightening procedures and know how to time a K-series motor. This is really meant to show that the head swap CAN be done with the motor still in the car.
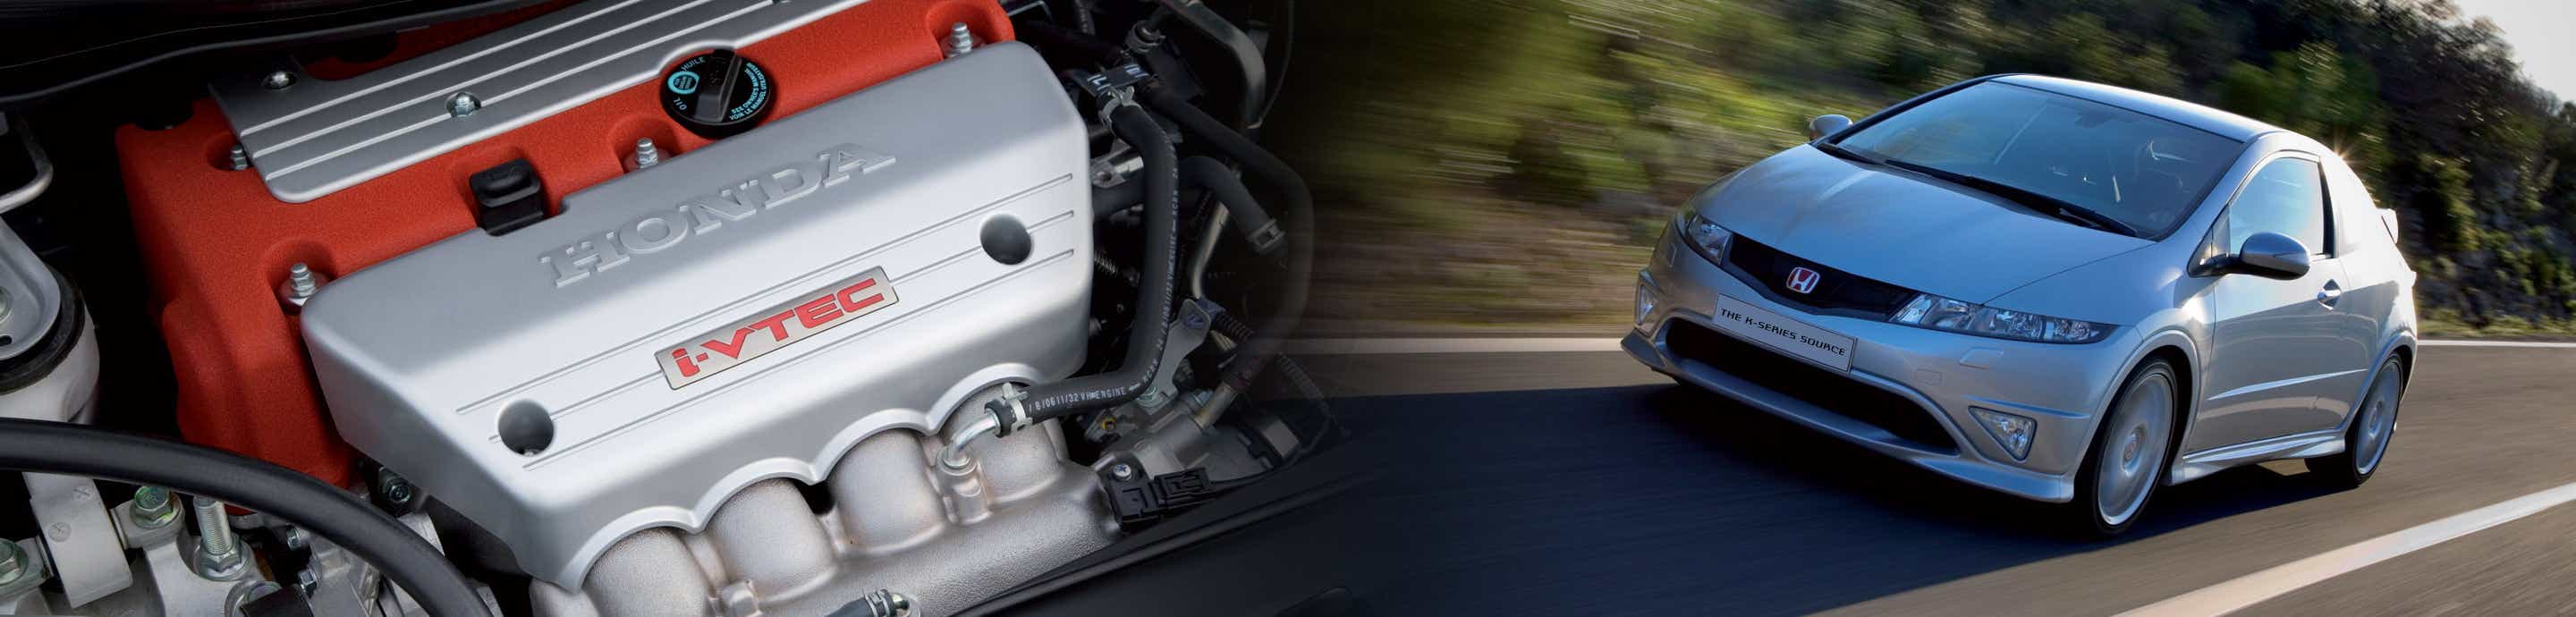
There you have it, the only pictures I snapped are after I installed my ARP headstuds and OEM Honda CRV 87mm Headgasket.
![Image]()
![Image]()
Fancy huh?
Notes:
- RSX-S Oil pump is a DIRECT bolt up to the K24A1, no modifications. All you need to do is Hondabond the bottom of the pump mating surface and tighten it all down. You can re-use the two 12mm bolts from the stock pump and you need to find a 1.5" 10mm bolt for the third. The windage tray is also a direct bolt up, hardware is used from the old stock tray.
There you have it, if you have any questions feel free to ask me here or via PM/AIM.
-Froth
Please keep in mind I took very very few pictures as I do not like to get my camera messy and stop working to take pics.
Tools needed:
-Full socket set (Deep/Shallow 1/2" 3/8" 1/4")
-Ratchets (Duh)
-Crank pulley removal tool
-Torque wrenches (one for smaller settings, one for large)
-Full screwdriver set (prying stuff, hose clamps, etc)
-Several ratchet extensions
-Scrapers (Old gasket material)
-Hondabond HT (Honda genuine RTV, I highly recommend this stuff)
-Random pliers/cutters
-Wrenches 8-19mm (Ratcheting and normal, very helpful)
-Large 1/2" breaker bar (to hold crank pulley removal tool)
-Metric allen keys
Time required: ~10 hours
The tools really aren't the most important part, the most important thing is insane amounts of patience. It takes time to get to some of the bolts but it's not inherently hard because the motor is still in the car.
Okay, so..onto the actual process of removing the head while it's in the car.
Step1: Jack up vehicle on four jack stands. Disconnect the battery, Drain Coolant and Oil from engine, this is self explanatory. Remove the passenger front wheel.
Step2: Disconnect all of the sensors connected to the head and any of the harness that may get in the way, this includes - Crank sensor, Oil pressure sensor, VTEC sensor, VTC spool solenoid, Injectors, Coilpacks, Cam position sensors, etc. Disconnect the front coolant port from the head if you are able to do so, this makes life very easy.
Step3: Remove valvecover, intake manifold, header and passenger side engine mount. Support the engine using a jack and some wood on the oilpan, or in my case on the water pump housing as I did an RSX-S oil pump at the same time. At this time remove the crank pulley using the holding tool and a big honking ratchet. I use my 26" snap on 1/2" ratchet and a 18" 1/2" extension. I usually brace the pulley holding tool against the axle or front LCA with a breaker bar.
Step4: THIS IS THE HARD PART Removing the timing chain cover: you cannot pull out the bottom bolt of the passenger side mount that is connected to the chain case while it's still in the car, it is impossible unless you can somehow remove the Hasport frame rail mount. I tried doing that to no avail. What you must do is remove the cams/timing chain tensioner/rocker assembly first and then take EVERY 10mm bolt out of the chain case and then slide the entire assembly up and out of the car while the passenger side mount that is connected to the chain case comes with it. I will warn you, it is a ROYAL pain in the ass if you don't know what you're doing. It CAN be done.
Step5: Loosen the head bolts, take off the back chain guide arm and pull off the head, make sure EVERYTHING is off of the head before you pull it. Pull the head and inspect the cylinders to make sure EVERYTHING is clean. Clean off both the head/block mating surfaces.
Once you reach this point everything is the reverse of removal, Minus installing the chain case. Installing the chain case MUST be done from the bottom as you cannot install it with the cams/rocker assembly not installed. I had to remove the oil pan to do an RSX-S oil pump at the same time so this was no huge deal, it DOES require two people to line up perfectly and not hit anything. You must remove the oil pan to do it.
Once again, I am assuming everyone knows the proper procedure for checking the deck of the block and head for warpage. Mine were fine, I also assume you follow all torque specs and tightening procedures and know how to time a K-series motor. This is really meant to show that the head swap CAN be done with the motor still in the car.
There you have it, the only pictures I snapped are after I installed my ARP headstuds and OEM Honda CRV 87mm Headgasket.


Fancy huh?
Notes:
- RSX-S Oil pump is a DIRECT bolt up to the K24A1, no modifications. All you need to do is Hondabond the bottom of the pump mating surface and tighten it all down. You can re-use the two 12mm bolts from the stock pump and you need to find a 1.5" 10mm bolt for the third. The windage tray is also a direct bolt up, hardware is used from the old stock tray.
There you have it, if you have any questions feel free to ask me here or via PM/AIM.
-Froth
")


