
Hey all, after doing tons and tons of research about dry sumps I finnally purchased a kit. I figured, since its really tough to find info about dry sumps since most people who use them are teams who dont want to share their secrets, I would start a thread following the install of the kit and that way other people who are debateing dry sumps can have a one stop shop for info.
This is my first thread of this nature so please bare with me.
Here it goes....
First off the basics of the car:
EM2 chasis
K20A3 bottom end
K20A2 head
Full race twin scroll trubo kit
GT4094
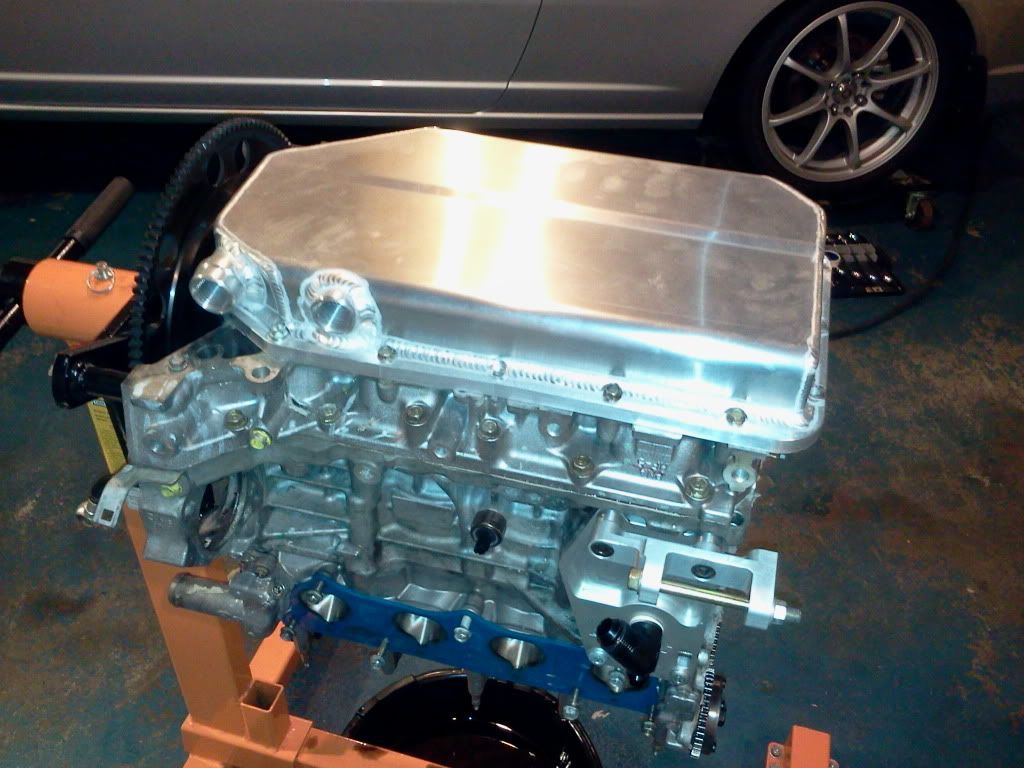
The k20 engine is already super tight in the engine bay so some cutting will be required.
![Image]()
The kit (minus one part that i forgot in my car)
![Image]()
the car coming apart
![Image]()
The pump's mounting bracket
![Image]()
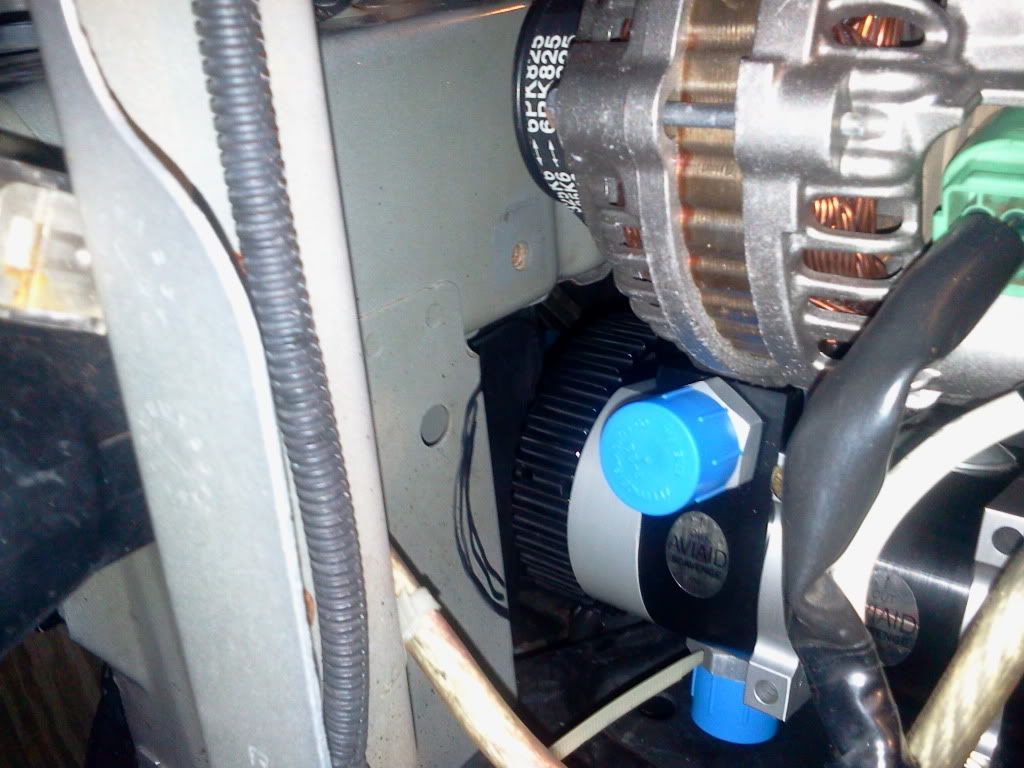
the pump mounted
![Image]()
The area that will need to be cut to fit the pump's pulley
That's all I have done for the moment. hopeing to get the engine out by saturday to remove the old pump and pan, block off the oil passage, swap to the ATI crank damper. and do some other fun stuff.
This is my first thread of this nature so please bare with me.
Here it goes....
First off the basics of the car:
EM2 chasis
K20A3 bottom end
K20A2 head
Full race twin scroll trubo kit
GT4094
The k20 engine is already super tight in the engine bay so some cutting will be required.
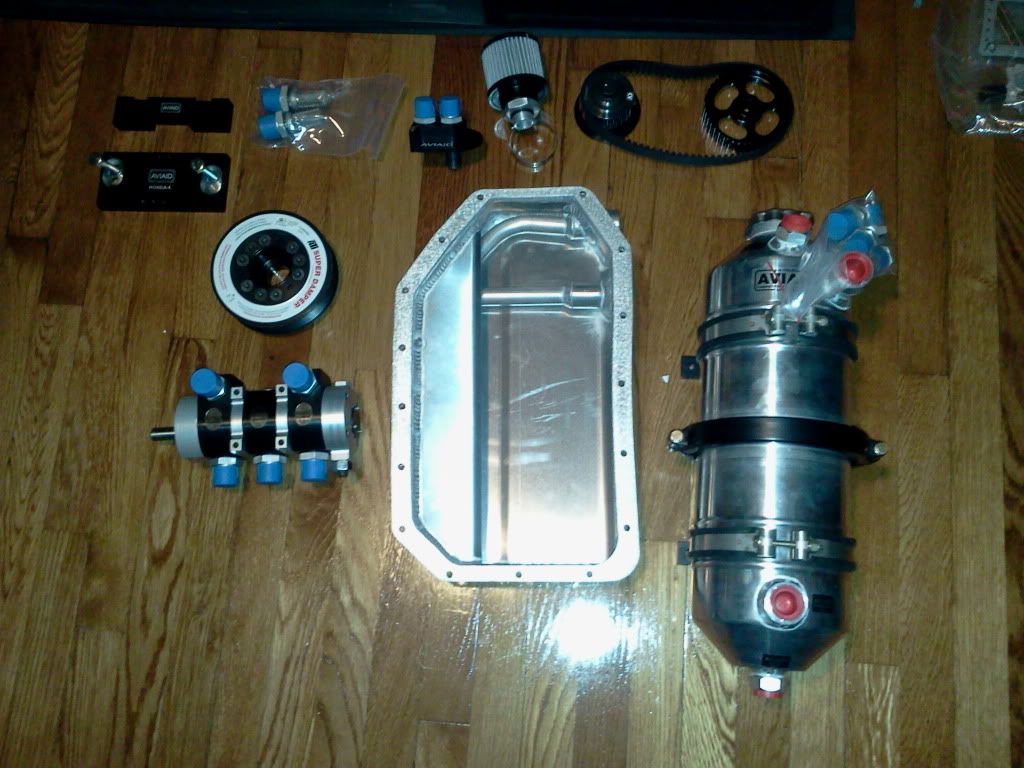
The kit (minus one part that i forgot in my car)
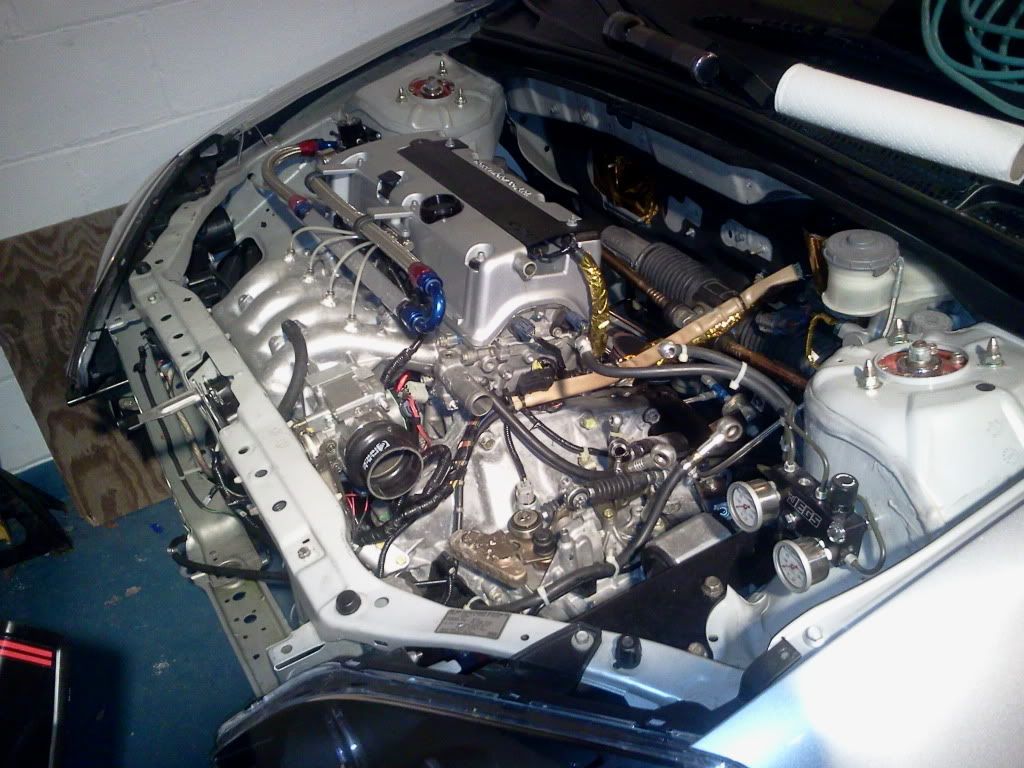
the car coming apart
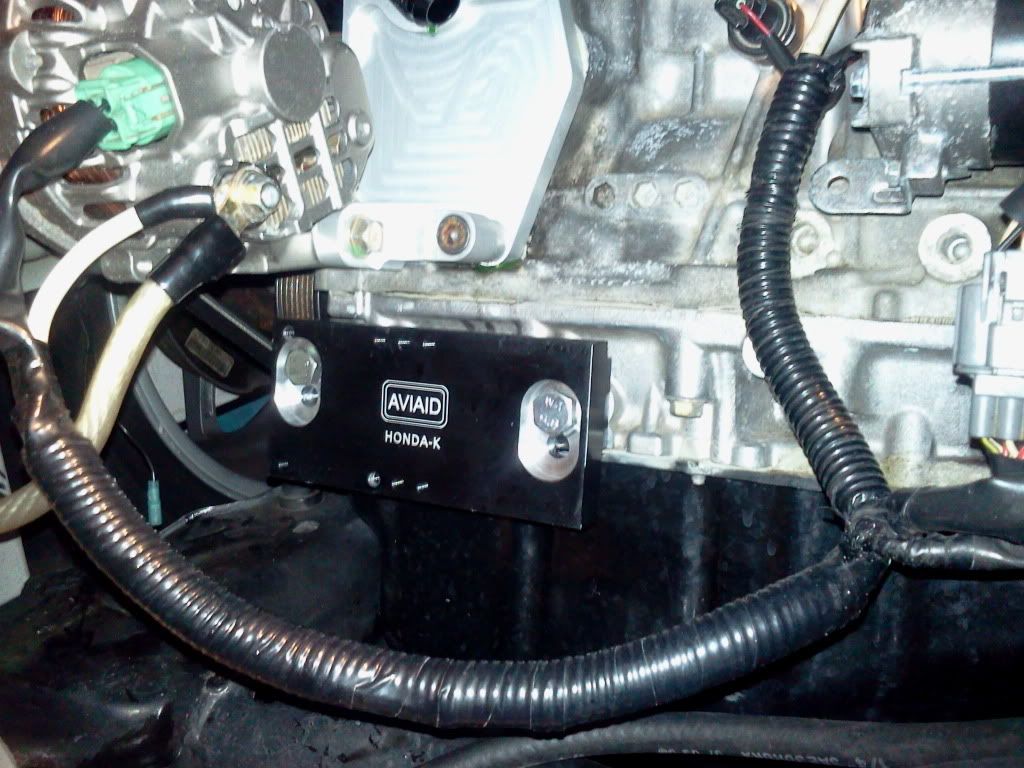
The pump's mounting bracket

the pump mounted
The area that will need to be cut to fit the pump's pulley
That's all I have done for the moment. hopeing to get the engine out by saturday to remove the old pump and pan, block off the oil passage, swap to the ATI crank damper. and do some other fun stuff.