
Where to start....
My name's Doug, i'm 45 years young (?) and have been a petrolhead from well before the age of 10. I grew up with a father who's interest / hobby was cars and the farthest back i can remember was being 9 years old, my Dad taking home a hot Sunbeam Stiletto and me asking when can i get a shot. The answer was when i turned 14 but still to this day it's never seen the light of day due to other projects and basically life in general. Imps / mini's were what i grew up on (coventry climax / A-Series) and a big fan of David of Vizard (watch Powertech 10 on YT if you don't know who he is, absolute legend). Back then i was introduced to hillclimbs / sprints over here in the UK and was hooked instantly. We had all sorts of weird and wonderful home built creations back then but also the monsters of the hills, eg, Pilbeams running ex F1 engines, funny fuel (you'll never forget the smell) and huge tyres. What i was always drawn to was the modified production cars, these were cars that you would see on the road but taken to a whole new level and with driver skill to match. Competing amongst those has always been on the back burner, left school, joined the army, came home / started a family, life always gets in the way, not always a bad thing though...
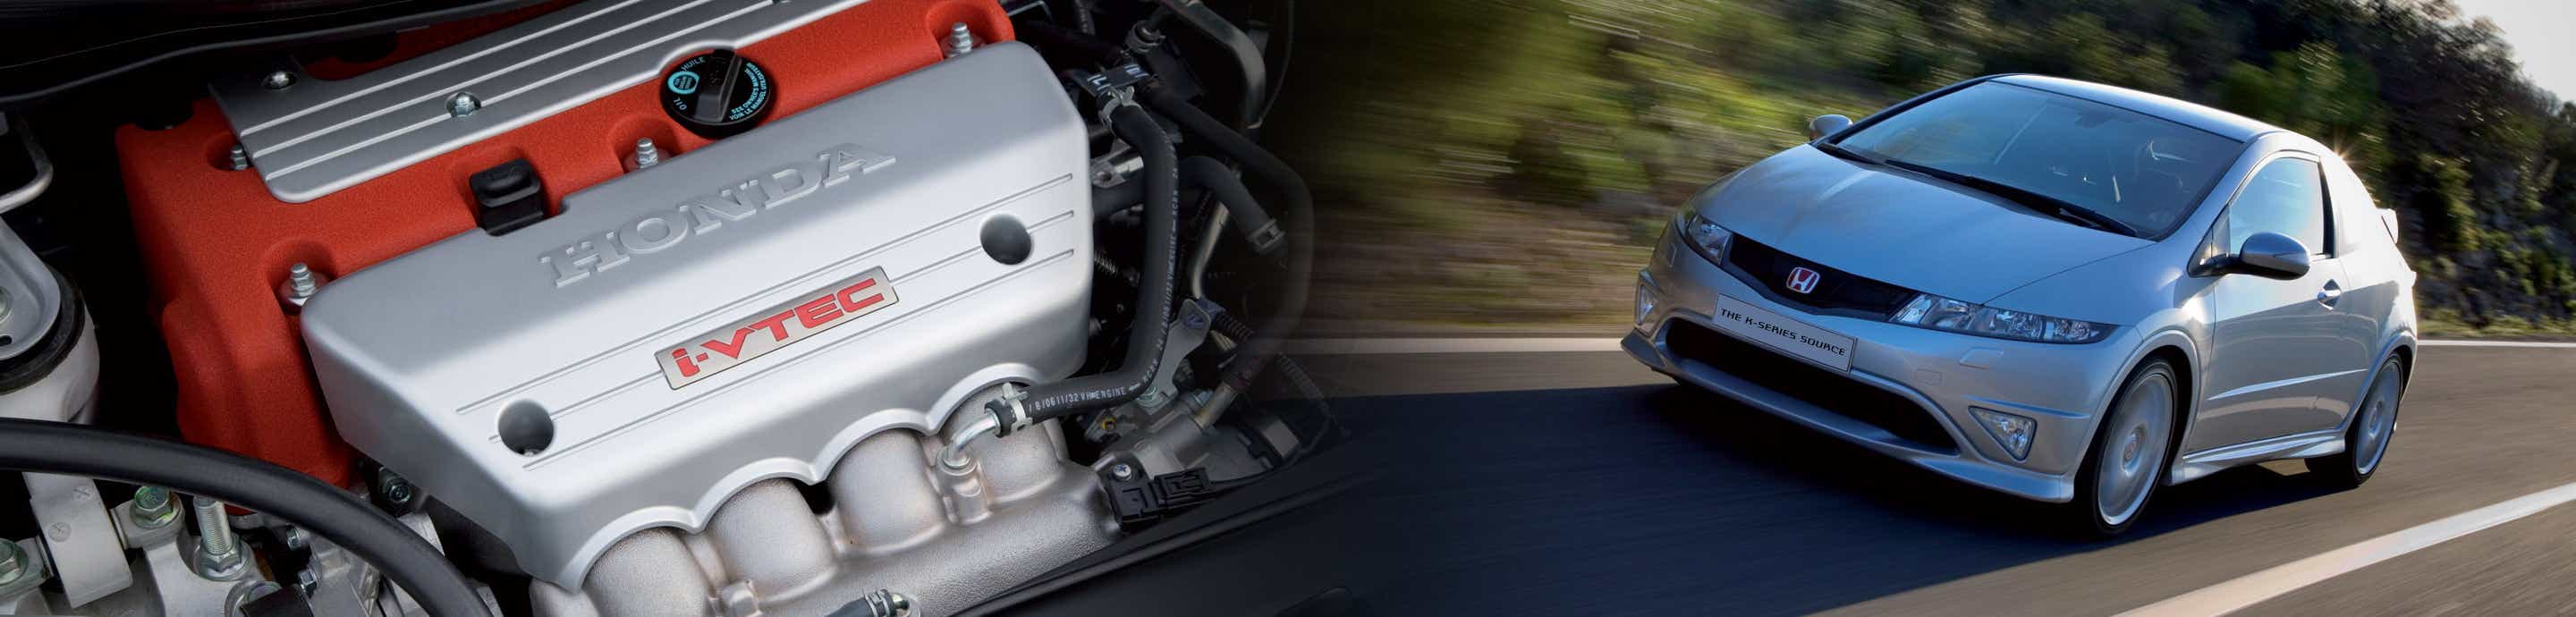
Fast forward to current day, i've owned my EP3 Type R since 2007. It was the 1st car i bought when i left the forces and it's been with me ever since. Used it as a daily for a few years, fitted some upgrades, fell out of love, put it up for sale, pulled it nearly instantly then decided to get another daily driver and make this a dedicated hillclimb car. Been here since 2012 when i started looking into upgrades, had a build thread on CTRO over here in the UK but that forum died years ago along with most forums we all used to visit. I logged back in here a few months ago just to see what was happening and found a couple of build threads that caught my eye, two stand outs being @gotovato (Here) & @Them Witches (Here). Both totally different back grounds regarding build path but both threads are an interesting read, good discussion, good input and a bit of grown up opinion / discussion on various things which is great to see. It's a rare thing these day's to see a different train of thought discussed logically rather than opinionated bashing, i respect that and that's why i'm making this thread, not to just to document and share what i'm doing, but to also discuss and learn, we're only human...
I spent a year or two getting it ready to enter standard production class as per MSA regs (UK regs based upon FIA rule book) but came up short. A 4PR 2000cc crate motor was bought along with dry sump. The rules for modified production (from now on referred to as mod prod) clearly stated that a dry sump was allowed, std prod didn't even mention it. Being the honest Joe that i am, i got in touch with one of the scrutineers and asked if it was ok, he asked for a photo and i sent him one of my engine bay. Straight away he pointed out that my DVI top mounts (some of you here might remember Da Vinci Racing when they came out with the adjustable caster top mounts) were outside of std prod rules and would need to be changed. That same year the tyre regs changed and my list 1B tyres were moved to list 1C (std prod is a 1A/1B class) so that was another nail in the coffin. At that point i decided screw it, i'll just run it as is in with the big boys. All of that was around 2017....
The car went away to a 'Tuner' over here in the UK for setup and didn't come back until 2019. It ended up as a back burner thing for them and a few things had to change spec wise during that time so it took a lot longer than expected from both sides. When it did come back, i had it out at the tail end of the season, car didn't feel like it was running right and asked a 3rd party to review the data logs. The polite version of the reply was don't drive it, it need's remapped. I took the time over winter / 1st half of 2020 to make a few changes mostly aimed at reducing weight. Mid '20 it went for mapping (fresh) and came back out mid season. 1st event out we found out that the Stoptech Trophy BBK wasn't a bright idea without a prop valve and rendered the car pretty much useless, 180deg spins being easy to instigate. This was a bit of a shame as even with braking issues and still running on road tyres the car was only 2 seconds off the pace vs the top dogs on slicks (showed potential).
COVID hit, no motorsport for 2 years (or very little) and in '22 i had other things going on in life / civic was a side thought. Everything's back to normal now for motorsport so absolutely kicking myself for not having it ready for this year. I always seem to learn best the hard way / mistakes. Not a bad thing as you absolutely don't do the same thing wrong twice but a little forward thinking would've been nice on this occasion!
So, where are we at now.....(time to get serious)
The car is being built specifically for hillclimbing over here in the UK. If you're not familiar, it's not like the euro stuff. Runs are considerably shorter (under a minute) with narrow track and tighter corners. Class regs are reasonably loose but there are some main restrictions regarding performance. Block must be original to the model, eg, i can't use a K24 as the EP3 never had one fitted, cylinder head is free (more pertinent to 8v guys), oiling system / colling is free, engine / gearbox must retain original layout (for me that's transverse, no big deal), capacity is restricted (up to 1400cc, 1400-2000cc, 2000cc+ for NA, FI uses a multiplier so you could have a sub 1400cc FI engine in up to 2000cc class), suspension must be of original design (McPherson) but pick up points may be moved, silhouette must remain the same as OEM and no modifications to chassis between the wheel centre lines apart from routing fluid lines and exhaust. Fuel must be 'pump fuel', this is a bit of a grey area as they specify fuel spec which is FIA102 equivalent - 102RON / 90MON). Tyres are free unlike some of your stuff so i can run any spec (size / compound) slick i wish. Little bit more to it than that but those are the main points.
The car at the start of this year was already quite healthy regarding spec and competitiveness IMO, 4PR crate motor with Kinslers / dry sump / spec'd exhaust system etc, not shy on power. PPG dogbox with Giken diff, completely uprated suspension including Moton struts / bespoke front lower arms etc etc, carbon doors / boot/ bonnet, reasonable amount of lightening throughout. Overall i was quite happy with it but wanted to do some work on the shell and i'd sold off the Link ECU it had been mapped on, that was replaced with Motec M130/PDM (new/current mapper preference) which also meant a rewire was on the cards. A few months ago i pulled the finger out to get going for next season and part of that was doing an inspection of the bores after having sat for a while. During that 2017-2019 period when the 1st 'tuner' had the car with a brand new 4PR crate motor they bore washed it quite significantly. At the time it was running ID1000 inj's and AEM Infinity. For some reason, between hardware and tuner, things didn't work out very well and the engine was flooded with fuel. If you aren't aware, bore washing is bad news. Long story on this one so i'll cut it short, basically when i checked the bores and ports this year it didn't look to healthy, high probability of stem seal failure and decided to pull the head. That then snowballed to stripping the bottom end and ring No.2 of cylinder no.2 fell out of the bore in two pieces, the end. Not bad going for an engine that had done under 50hrs including extensive dyno time and only 10 minutes of seat time. It took a while to get going but actual running hours were minimal so quite disappointing to say the least. Not quite the end as i'm never one to give up and dwell on the past, it doesn't do you any good and will get you nowhere fast! There's a big blame culture in this game when things don't go right and i can understand that but finger pointing isn't my thing, don't get me wrong, i'll be the first person to speak up or question something if i think it's not right but the ships sailed on this one and it's time to move on.
One thing i can't stand in life is continual upgrades (I'm also a hifi addict), always chasing, never content. I was taught a saying many years ago and that's do it right, do it once...that's where this is going.
I've developed somewhat of an OCD nature to all aspects of the car and when it returns to the track the only improvement i want on the table is setup and driver skill / seat time. I know i'm jumping in at the deep end but sink or swim has worked for me in most things in life and i've never hit the bottom yet. How dull life would be if you didn't give 100%. Remember at the start of this intro i mentioned the old man's imp still isn't on the road? One life, one shot at it, screw getting towards the end of it with what if's or any should have been's, do it or go find something else....
Plenty more to come in this thread, keen to show what's been done, what's getting done, thought process behind it all, experience along the way etc etc, might even throw a few pictures in to keep you interested. As i say, this is more for me to catalogue the build / the seat time and generate some discussion which selfishly might help myself out and as a by-product others. YT channel was a consideration but TBH i just can't be hooped (assed, am i allowed to say that here?) putting in time / effort into something like that as I've got other things on in life as well as putting the pedal to the metal. I've never been one to shy away from helping others and i know how time / finance consuming going through the process can be but even if it falls on deaf ears, i'll at least have a nice timeline of progress to look back on in a few years. It's definitely not your average off the shelf build, plenty of good stuff packed into a fairly disregarded shell on your side of the pond but very little will be following the 'norm'.
I need to go back to family time now after spending over an hour writing this but i'll leave you with one photo. Gotovato posted a photo of his garage / workshop in his thread and showed just what can be achieved with what you have (that means the amount of enjoyment you can have / smiles per miles). My garage is so small i wrote it off as a garage as i could hardly get the civic in and open the door (old house / small garage). I'm fortunate enough to have some land to put a garage up for the civic (next year now) but what was, is now my workshop and still quite modest tbh but good things will come out of it! As of right now, my chassis sits on my driveway and i'm continually fighting weather (rain!) being blessed with being born in Scotland. On the flip side, being born here is i don't give up easily...💪
![Image]()
Watch this space....")
My name's Doug, i'm 45 years young (?) and have been a petrolhead from well before the age of 10. I grew up with a father who's interest / hobby was cars and the farthest back i can remember was being 9 years old, my Dad taking home a hot Sunbeam Stiletto and me asking when can i get a shot. The answer was when i turned 14 but still to this day it's never seen the light of day due to other projects and basically life in general. Imps / mini's were what i grew up on (coventry climax / A-Series) and a big fan of David of Vizard (watch Powertech 10 on YT if you don't know who he is, absolute legend). Back then i was introduced to hillclimbs / sprints over here in the UK and was hooked instantly. We had all sorts of weird and wonderful home built creations back then but also the monsters of the hills, eg, Pilbeams running ex F1 engines, funny fuel (you'll never forget the smell) and huge tyres. What i was always drawn to was the modified production cars, these were cars that you would see on the road but taken to a whole new level and with driver skill to match. Competing amongst those has always been on the back burner, left school, joined the army, came home / started a family, life always gets in the way, not always a bad thing though...
Fast forward to current day, i've owned my EP3 Type R since 2007. It was the 1st car i bought when i left the forces and it's been with me ever since. Used it as a daily for a few years, fitted some upgrades, fell out of love, put it up for sale, pulled it nearly instantly then decided to get another daily driver and make this a dedicated hillclimb car. Been here since 2012 when i started looking into upgrades, had a build thread on CTRO over here in the UK but that forum died years ago along with most forums we all used to visit. I logged back in here a few months ago just to see what was happening and found a couple of build threads that caught my eye, two stand outs being @gotovato (Here) & @Them Witches (Here). Both totally different back grounds regarding build path but both threads are an interesting read, good discussion, good input and a bit of grown up opinion / discussion on various things which is great to see. It's a rare thing these day's to see a different train of thought discussed logically rather than opinionated bashing, i respect that and that's why i'm making this thread, not to just to document and share what i'm doing, but to also discuss and learn, we're only human...
I spent a year or two getting it ready to enter standard production class as per MSA regs (UK regs based upon FIA rule book) but came up short. A 4PR 2000cc crate motor was bought along with dry sump. The rules for modified production (from now on referred to as mod prod) clearly stated that a dry sump was allowed, std prod didn't even mention it. Being the honest Joe that i am, i got in touch with one of the scrutineers and asked if it was ok, he asked for a photo and i sent him one of my engine bay. Straight away he pointed out that my DVI top mounts (some of you here might remember Da Vinci Racing when they came out with the adjustable caster top mounts) were outside of std prod rules and would need to be changed. That same year the tyre regs changed and my list 1B tyres were moved to list 1C (std prod is a 1A/1B class) so that was another nail in the coffin. At that point i decided screw it, i'll just run it as is in with the big boys. All of that was around 2017....
The car went away to a 'Tuner' over here in the UK for setup and didn't come back until 2019. It ended up as a back burner thing for them and a few things had to change spec wise during that time so it took a lot longer than expected from both sides. When it did come back, i had it out at the tail end of the season, car didn't feel like it was running right and asked a 3rd party to review the data logs. The polite version of the reply was don't drive it, it need's remapped. I took the time over winter / 1st half of 2020 to make a few changes mostly aimed at reducing weight. Mid '20 it went for mapping (fresh) and came back out mid season. 1st event out we found out that the Stoptech Trophy BBK wasn't a bright idea without a prop valve and rendered the car pretty much useless, 180deg spins being easy to instigate. This was a bit of a shame as even with braking issues and still running on road tyres the car was only 2 seconds off the pace vs the top dogs on slicks (showed potential).
COVID hit, no motorsport for 2 years (or very little) and in '22 i had other things going on in life / civic was a side thought. Everything's back to normal now for motorsport so absolutely kicking myself for not having it ready for this year. I always seem to learn best the hard way / mistakes. Not a bad thing as you absolutely don't do the same thing wrong twice but a little forward thinking would've been nice on this occasion!
So, where are we at now.....(time to get serious)
The car is being built specifically for hillclimbing over here in the UK. If you're not familiar, it's not like the euro stuff. Runs are considerably shorter (under a minute) with narrow track and tighter corners. Class regs are reasonably loose but there are some main restrictions regarding performance. Block must be original to the model, eg, i can't use a K24 as the EP3 never had one fitted, cylinder head is free (more pertinent to 8v guys), oiling system / colling is free, engine / gearbox must retain original layout (for me that's transverse, no big deal), capacity is restricted (up to 1400cc, 1400-2000cc, 2000cc+ for NA, FI uses a multiplier so you could have a sub 1400cc FI engine in up to 2000cc class), suspension must be of original design (McPherson) but pick up points may be moved, silhouette must remain the same as OEM and no modifications to chassis between the wheel centre lines apart from routing fluid lines and exhaust. Fuel must be 'pump fuel', this is a bit of a grey area as they specify fuel spec which is FIA102 equivalent - 102RON / 90MON). Tyres are free unlike some of your stuff so i can run any spec (size / compound) slick i wish. Little bit more to it than that but those are the main points.
The car at the start of this year was already quite healthy regarding spec and competitiveness IMO, 4PR crate motor with Kinslers / dry sump / spec'd exhaust system etc, not shy on power. PPG dogbox with Giken diff, completely uprated suspension including Moton struts / bespoke front lower arms etc etc, carbon doors / boot/ bonnet, reasonable amount of lightening throughout. Overall i was quite happy with it but wanted to do some work on the shell and i'd sold off the Link ECU it had been mapped on, that was replaced with Motec M130/PDM (new/current mapper preference) which also meant a rewire was on the cards. A few months ago i pulled the finger out to get going for next season and part of that was doing an inspection of the bores after having sat for a while. During that 2017-2019 period when the 1st 'tuner' had the car with a brand new 4PR crate motor they bore washed it quite significantly. At the time it was running ID1000 inj's and AEM Infinity. For some reason, between hardware and tuner, things didn't work out very well and the engine was flooded with fuel. If you aren't aware, bore washing is bad news. Long story on this one so i'll cut it short, basically when i checked the bores and ports this year it didn't look to healthy, high probability of stem seal failure and decided to pull the head. That then snowballed to stripping the bottom end and ring No.2 of cylinder no.2 fell out of the bore in two pieces, the end. Not bad going for an engine that had done under 50hrs including extensive dyno time and only 10 minutes of seat time. It took a while to get going but actual running hours were minimal so quite disappointing to say the least. Not quite the end as i'm never one to give up and dwell on the past, it doesn't do you any good and will get you nowhere fast! There's a big blame culture in this game when things don't go right and i can understand that but finger pointing isn't my thing, don't get me wrong, i'll be the first person to speak up or question something if i think it's not right but the ships sailed on this one and it's time to move on.
One thing i can't stand in life is continual upgrades (I'm also a hifi addict), always chasing, never content. I was taught a saying many years ago and that's do it right, do it once...that's where this is going.
I've developed somewhat of an OCD nature to all aspects of the car and when it returns to the track the only improvement i want on the table is setup and driver skill / seat time. I know i'm jumping in at the deep end but sink or swim has worked for me in most things in life and i've never hit the bottom yet. How dull life would be if you didn't give 100%. Remember at the start of this intro i mentioned the old man's imp still isn't on the road? One life, one shot at it, screw getting towards the end of it with what if's or any should have been's, do it or go find something else....
Plenty more to come in this thread, keen to show what's been done, what's getting done, thought process behind it all, experience along the way etc etc, might even throw a few pictures in to keep you interested. As i say, this is more for me to catalogue the build / the seat time and generate some discussion which selfishly might help myself out and as a by-product others. YT channel was a consideration but TBH i just can't be hooped (assed, am i allowed to say that here?) putting in time / effort into something like that as I've got other things on in life as well as putting the pedal to the metal. I've never been one to shy away from helping others and i know how time / finance consuming going through the process can be but even if it falls on deaf ears, i'll at least have a nice timeline of progress to look back on in a few years. It's definitely not your average off the shelf build, plenty of good stuff packed into a fairly disregarded shell on your side of the pond but very little will be following the 'norm'.
I need to go back to family time now after spending over an hour writing this but i'll leave you with one photo. Gotovato posted a photo of his garage / workshop in his thread and showed just what can be achieved with what you have (that means the amount of enjoyment you can have / smiles per miles). My garage is so small i wrote it off as a garage as i could hardly get the civic in and open the door (old house / small garage). I'm fortunate enough to have some land to put a garage up for the civic (next year now) but what was, is now my workshop and still quite modest tbh but good things will come out of it! As of right now, my chassis sits on my driveway and i'm continually fighting weather (rain!) being blessed with being born in Scotland. On the flip side, being born here is i don't give up easily...💪
Watch this space....


