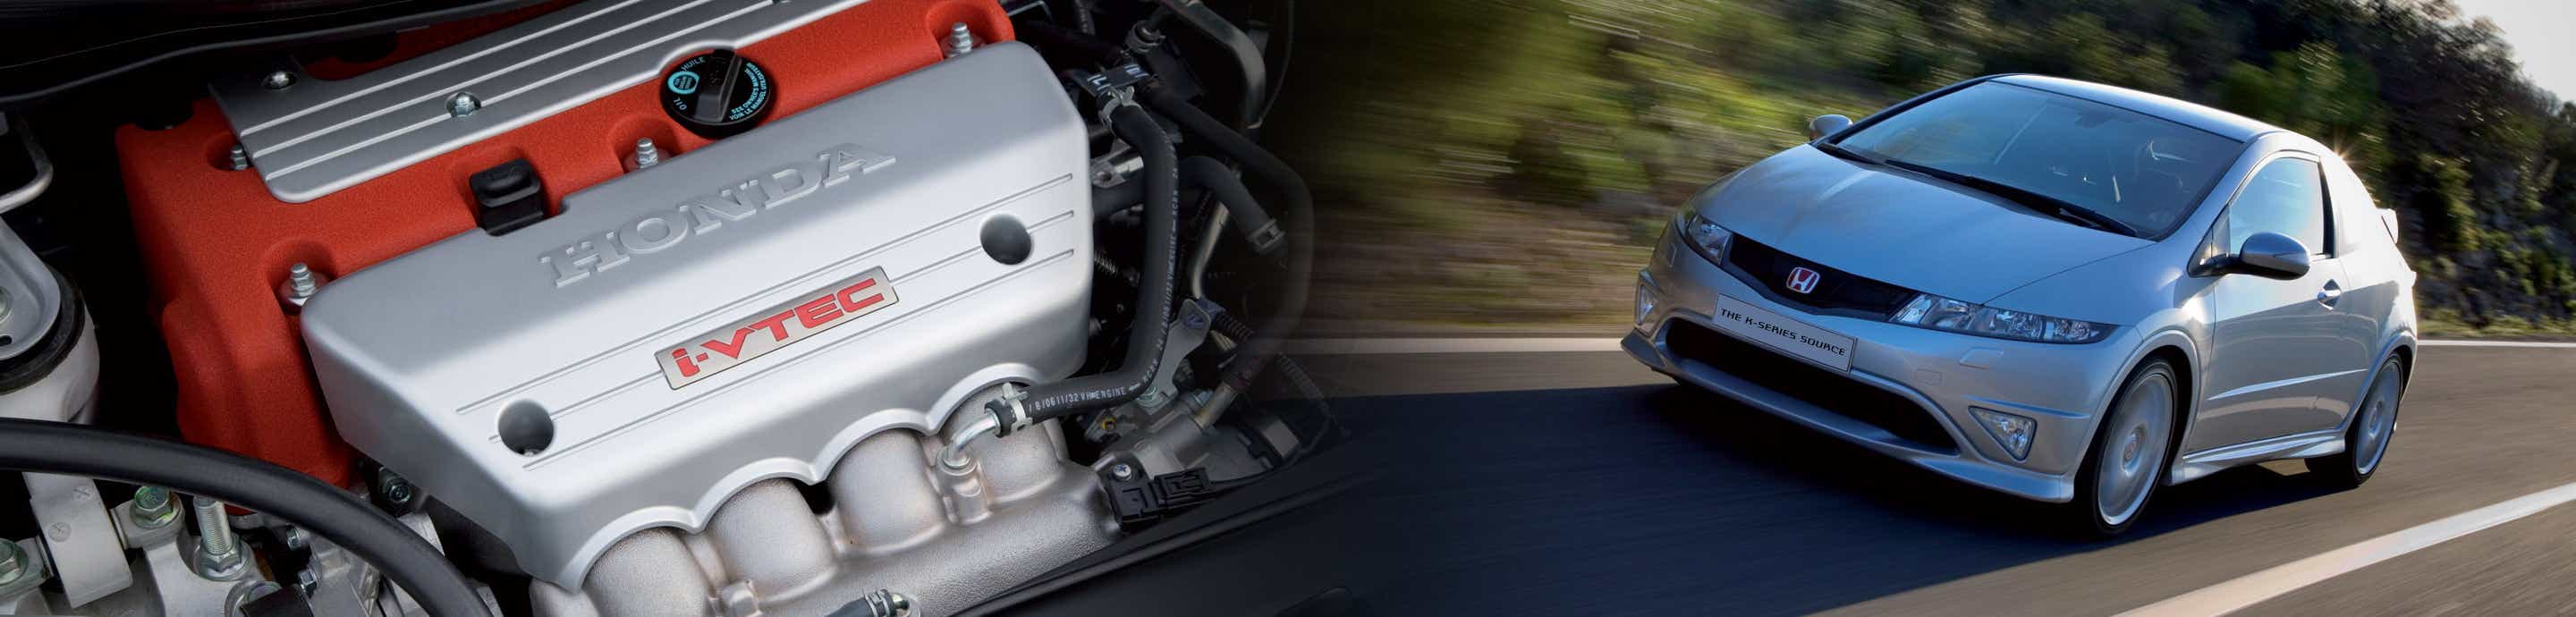

i just got my k20 and me and a friend just put on my hondata IM gasket and for the life of me i didnt know how to get to the bottom bolts for the IM. tried searching for a diy to see if there were any tricks but finally i got it off. i proposed a DIY section in the suggestion forum and signalpuke asked me to make a DIY and place it here then he can start a DIY list. here goes. my first DIY ever posted.
http://www.k20a.org/forum/showthread.php?p=292059#post292059
first you want to remove the top IM bolts. from left to right
![Image]()
![Image]()
![Image]()
now the bottom bolts from left to right
![Image]()
![Image]()
now to get to the last bolt the TB is in the way so remove the TB bolts
![Image]()
![Image]()
![Image]()
![Image]()
then you can get to the last bolt on the IM.
![Image]()
now try to slide off the IM. but wait it wont. if you notice HONDA did a dumbass part on their end. instead of just shaving the power steering pump a couple more millimeters so the IM can come off but nooooooo they wanted to make it difficult so you must remove the alternator, water pump, power steering, etc.
unclip this hose
![Image]()
remove this bolt to the left of the power steering pulley
![Image]()
remove this bolt thats below the power steering pulley
![Image]()
remove this bolt from the left of the tensioner
![Image]()
then the 2 bolts below holding the alternator
![Image]()
this was an another thing i couldnt find that you had to remove. since my motor is on the floor and if its on the subframe like mine you will need a friend to lift it. i did it with my breaker bar. just find a spot where you can lift the motor then a friend can break those 2 bolts. you can see one on the right. i couldnt get a pic of both of them but you get the idea.
![Image]()
remove top bolt of the alternator now
![Image]()
now to remove the belt just loosen the tensioner towards the motor and that will remove the belt
![Image]()
now you should be able to slide off the IM to install your hondata IM gasket or whatever you need to do. i hope this helps somebody down the road. :up:
there will be clips on the TB, etc that you will need to clip off which i did not include in the DIY but thats pretty much common sense. when you done pretty much put it back the way you took it off. :up:
http://www.k20a.org/forum/showthread.php?p=292059#post292059
first you want to remove the top IM bolts. from left to right


now the bottom bolts from left to right


now to get to the last bolt the TB is in the way so remove the TB bolts


then you can get to the last bolt on the IM.

now try to slide off the IM. but wait it wont. if you notice HONDA did a dumbass part on their end. instead of just shaving the power steering pump a couple more millimeters so the IM can come off but nooooooo they wanted to make it difficult so you must remove the alternator, water pump, power steering, etc.
unclip this hose

remove this bolt to the left of the power steering pulley

remove this bolt thats below the power steering pulley

remove this bolt from the left of the tensioner

then the 2 bolts below holding the alternator

this was an another thing i couldnt find that you had to remove. since my motor is on the floor and if its on the subframe like mine you will need a friend to lift it. i did it with my breaker bar. just find a spot where you can lift the motor then a friend can break those 2 bolts. you can see one on the right. i couldnt get a pic of both of them but you get the idea.

remove top bolt of the alternator now

now to remove the belt just loosen the tensioner towards the motor and that will remove the belt

now you should be able to slide off the IM to install your hondata IM gasket or whatever you need to do. i hope this helps somebody down the road. :up:
there will be clips on the TB, etc that you will need to clip off which i did not include in the DIY but thats pretty much common sense. when you done pretty much put it back the way you took it off. :up:
")


